Revised: 10/07/2024
WorkCenters and Dashboards provide a secure, role-based, centralized portal that links to online pages, queries, reports and processes to give the user a one-page summary view of information. Access to WorkCenters and Dashboards is controlled by user security roles. (No special request is needed.) For example, a Voucher Processor would have access to the AP WorkCenter.
Modules that have WorkCenters and Dashboards include:
Supplier Administration Center
Use WorkCenters and Dashboards to focus on daily tasks.
Work is delivered in specific and prioritized tasks, and arranged into groups and grouplets that reduce navigation time .Each WorkCenter has one "Task Panel" and one "Work Area". The "Task Panel" is on the side displaying the grouplets assigned to the WorkCenter page and the "Work Area" displays transaction pages. This enables users to access various pages and perform daily tasks without leaving the WorkCenter.
To navigate to a FIN module WorkCenter, follow this schema:
For example, to access the Accounts Payable WorkCenter navigate to: https://ohid.ohio.gov/wps/myportal/gov/myohio/ > Financials > Accounts Payable > Payables WorkCenter
Each grouplet may have the following actions depending on its configuration: Hide/Show, Reload, Personalize.
 Displays the menu for the grouplet actions available.
Within each grouplet there may be the following action icons depending on the grouplet.
 Collapses a group of links.
 Expands a group of links.
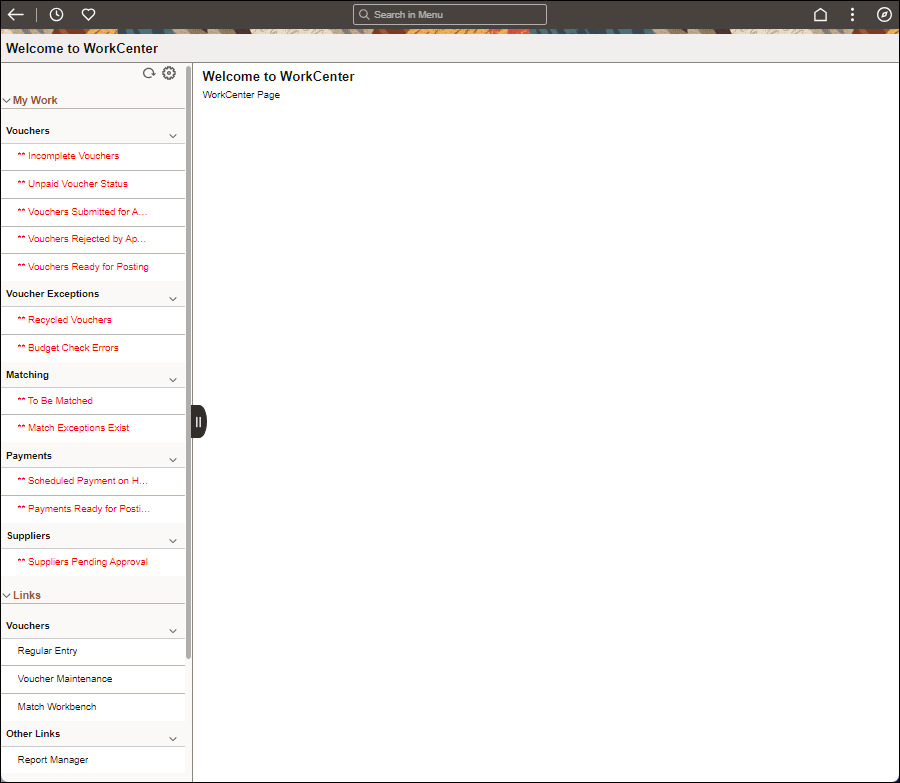
The WorkCenter consists of two main areas–the grouplet area and the transaction area. Use the grouplet area the same way in all WorkCenters. There are four areas:
My Work – Lists what needs to be done, and includes items by category pending an action. Click on a category link to display the items.
Links – Add direct links to frequently accessed URLs.
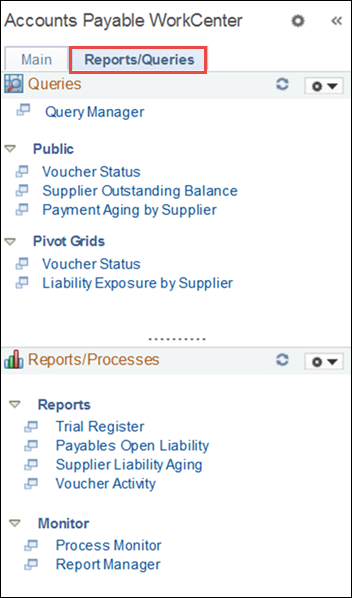
Queries – links to pages used to run queries.
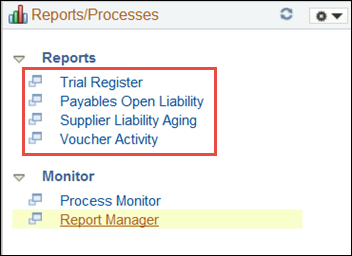
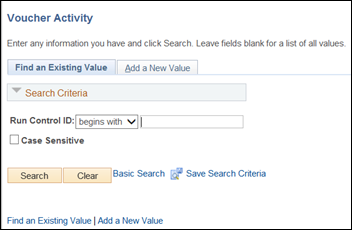
Reports / Processes – links for stored, frequently accessed reports.
Run an ad-hoc query, report, or process when needed.
The selection in the grouplet area drives what is seen in the transaction area. See the details of transactions and components, or perform any needed actions. This area can also be used for Dashboard charts or analytics, or a list of the most important things to do when opening the WorkCenter each day.
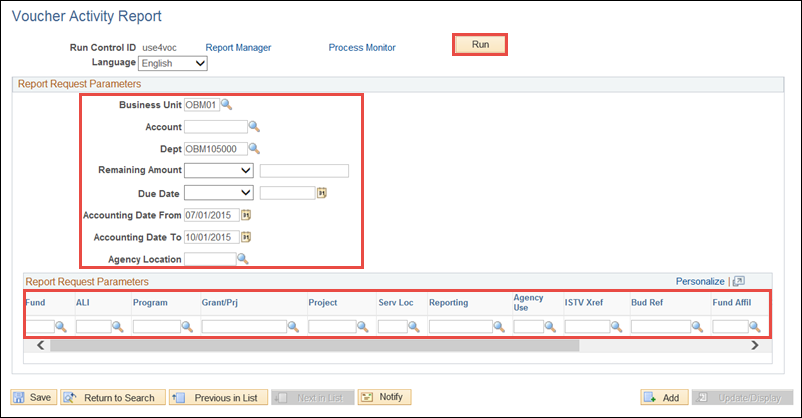
Each module's WorkCenter will contain different links, reports, and queries configured specifically for that module.
Each WorkCenter is module specific. The Accounts Payable WorkCenter is used in the example below. There are WorkCenters available for most other Financials modules depending on the user’s security roles
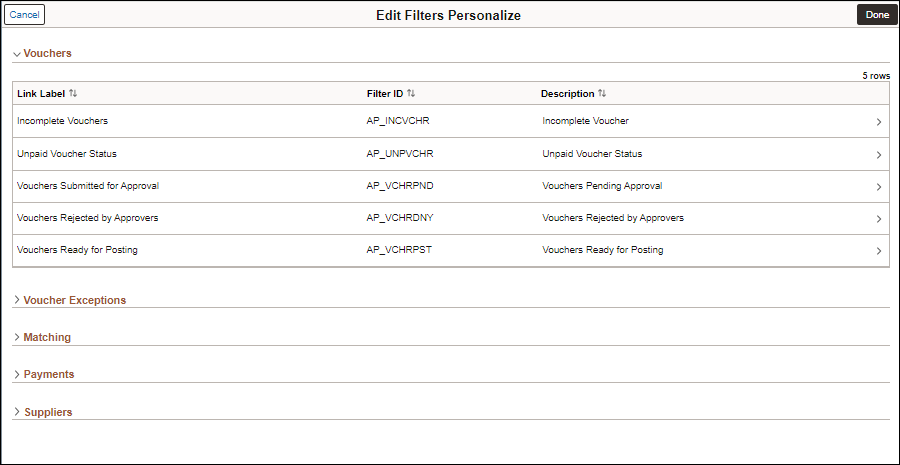
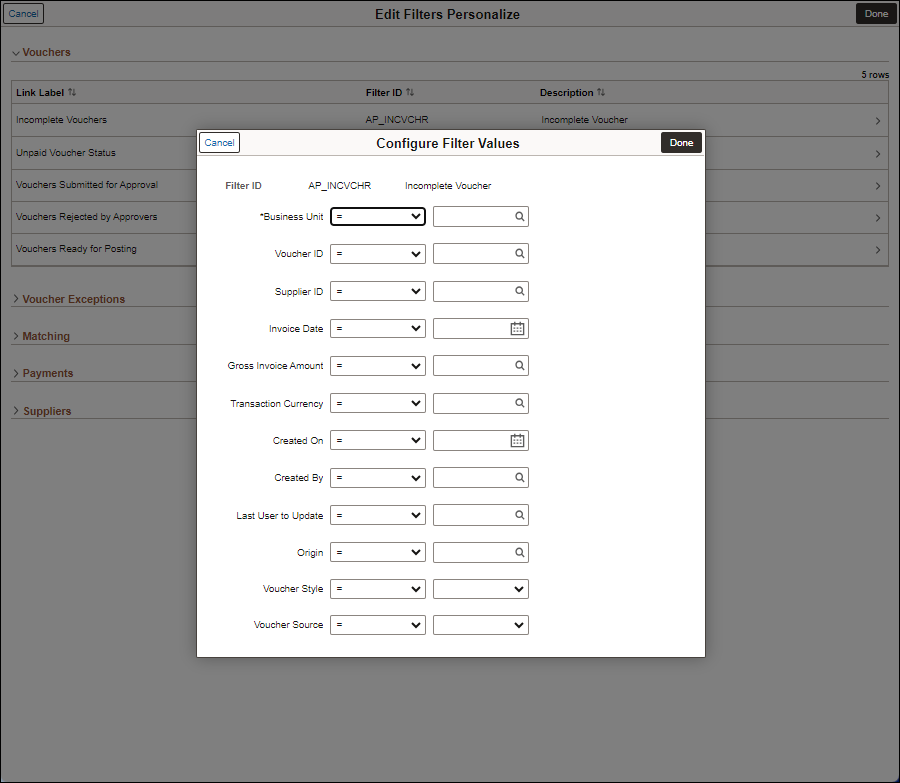
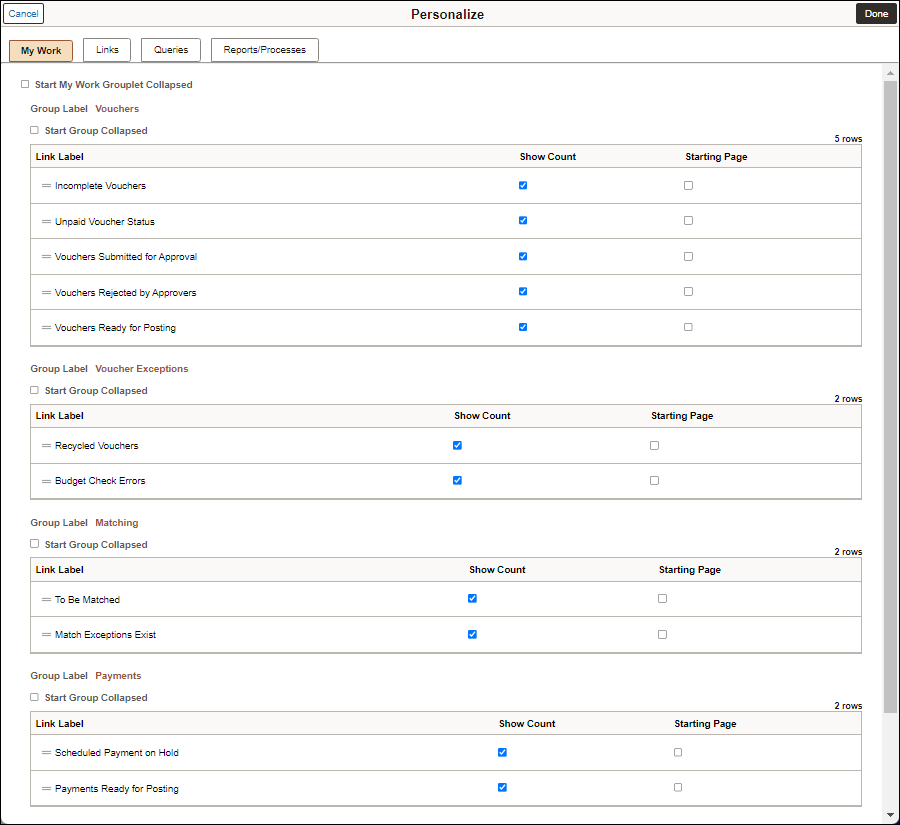
An important feature is the ability to personalize the WorkCenter. This allows the user to control the information displayed and make it function for what is done and how to do it.