Revised: 09/15/2022
When copying a bill, OAKS FIN can assign an ID or be given a specific custom ID.
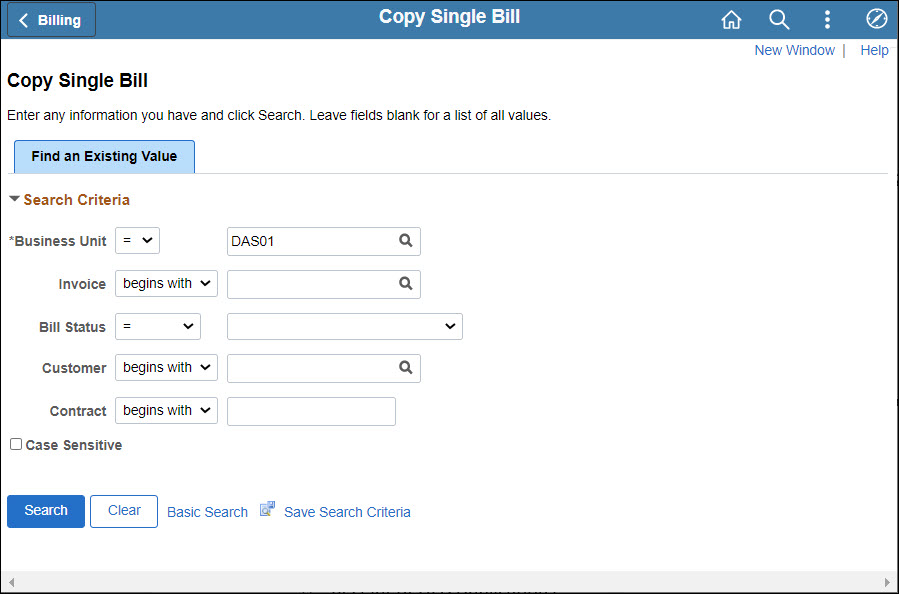
Verify or enter the Business Unit
Click Search.
Search Results display at the bottom of the Copy Single Bill page.
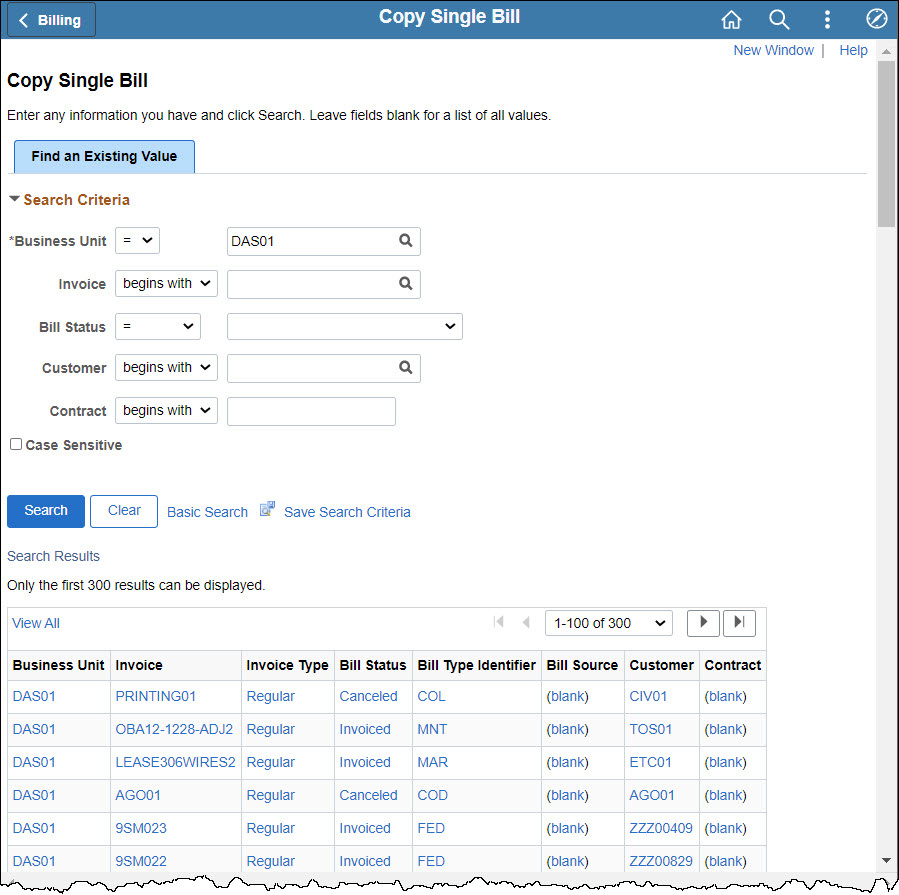
Click the desired bill to copy.
The Copy Single Bill page displays details for the bill selected.
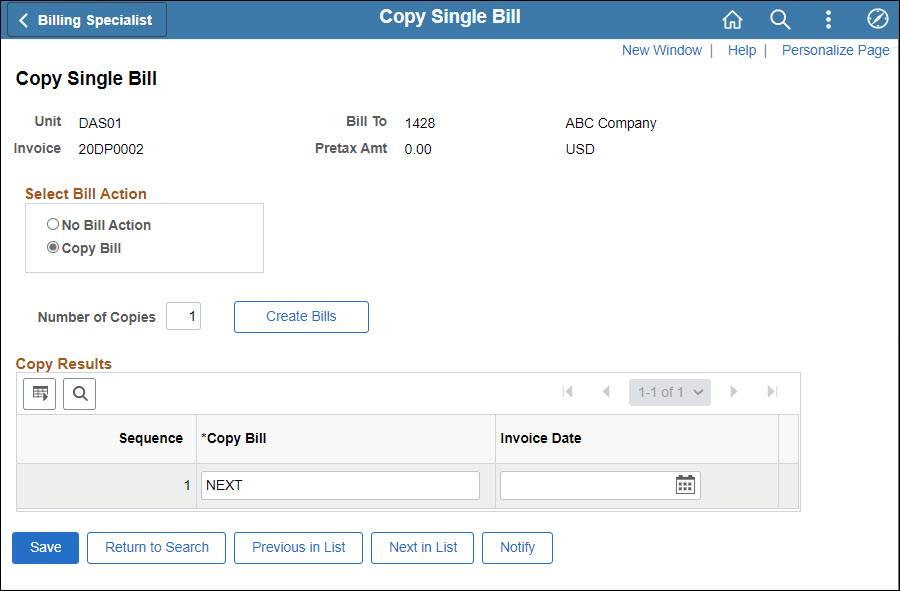
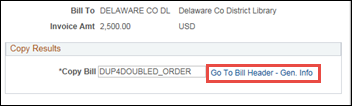
Select the Copy Bill radio button.
To use a certain Invoice ID for the new/copied invoice, enter it in the Copy Bill field. Otherwise, by default, the "NEXT" invoice number available will be assigned.
If the bill being copied was set to require invoice numbering at the Bill Type level, the Invoice ID for the new/copied invoice will be required (cannot have "NEXT").
Click Save.
A link displays for Go to Bill Header -- Gen. Info.
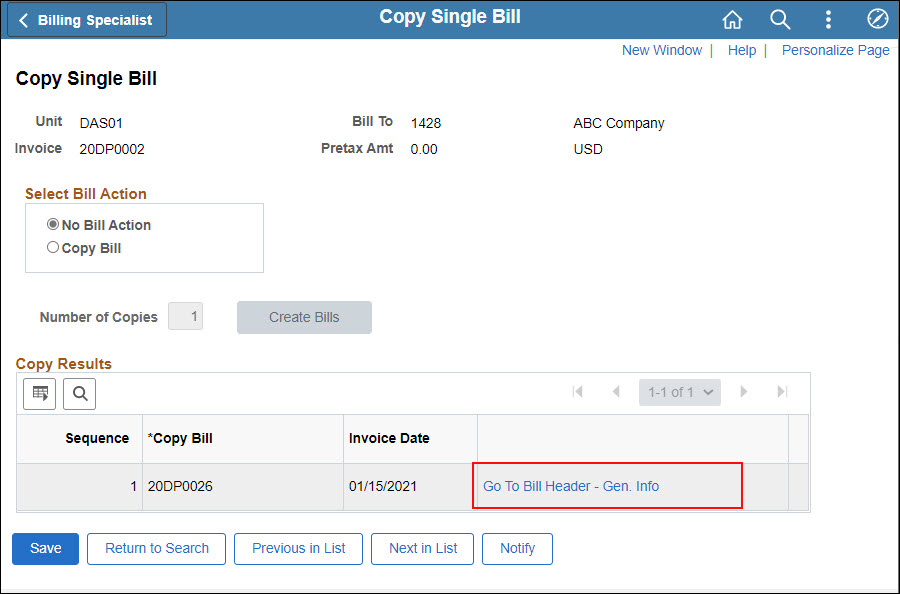
Click the Go to Bill Header -- Gen. InfoGo to Bill Header -- Gen. Info link.
The Header - Info 1 page displays.
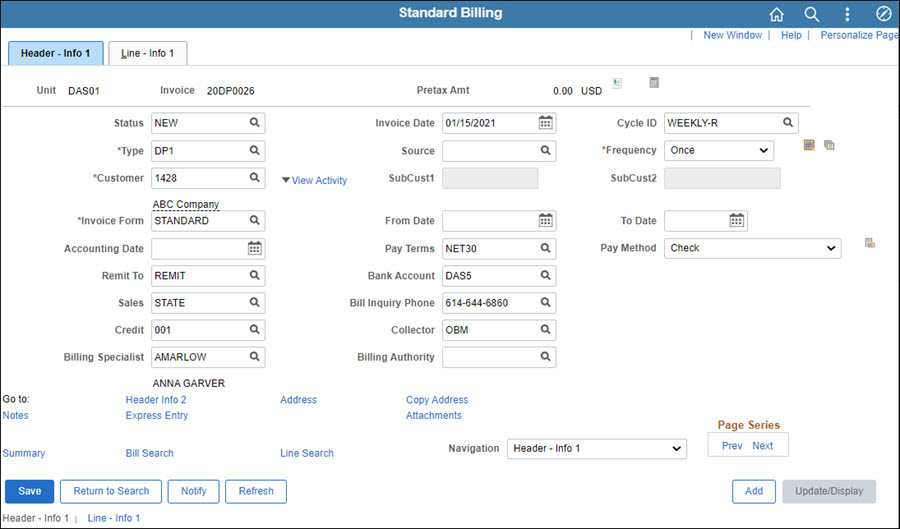
Edit fields as necessary. The three most likely to need updates are:
Invoice Date -- Date that will display on the invoice.
Pay Terms -- Calculation specification for the due date, dependent on invoice date.
Quantity -- Quantity of goods (On a different page; to be covered in step #10.)
Click the Line - Info 1 tab.
The Line - Info 1 page displays.
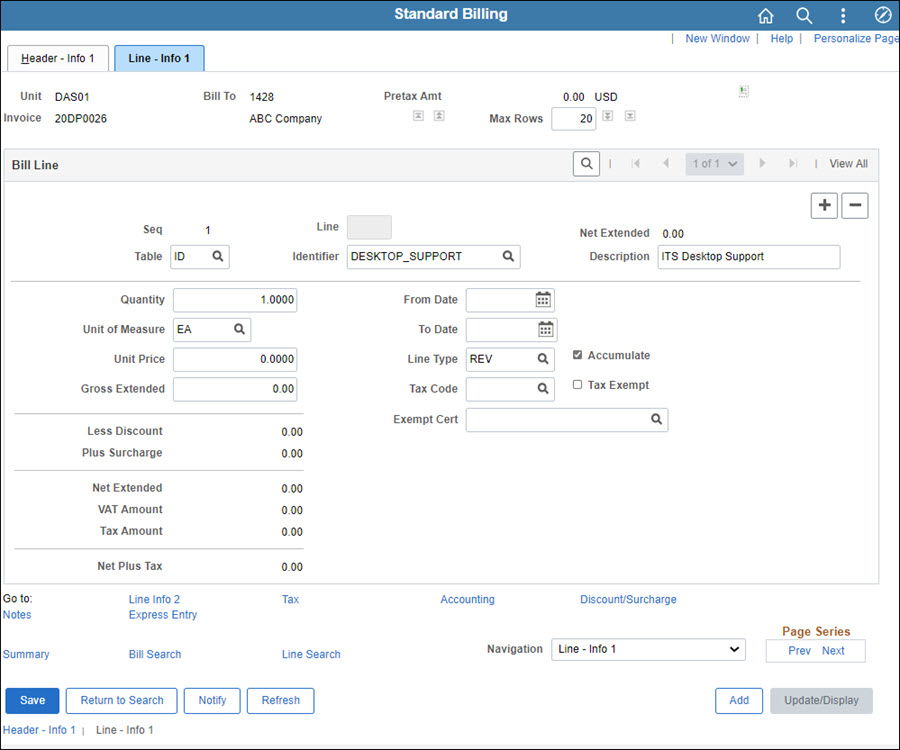
If necessary, edit the Quantity.
Unit of Measure or Unit Price can also be edited, if necessary.
Click Save.
OAKS FIN calculates and updates the amounts in the Gross Extended, Net Extended, and Net Plus Tax fields.
Click the Line - Info 2 link.
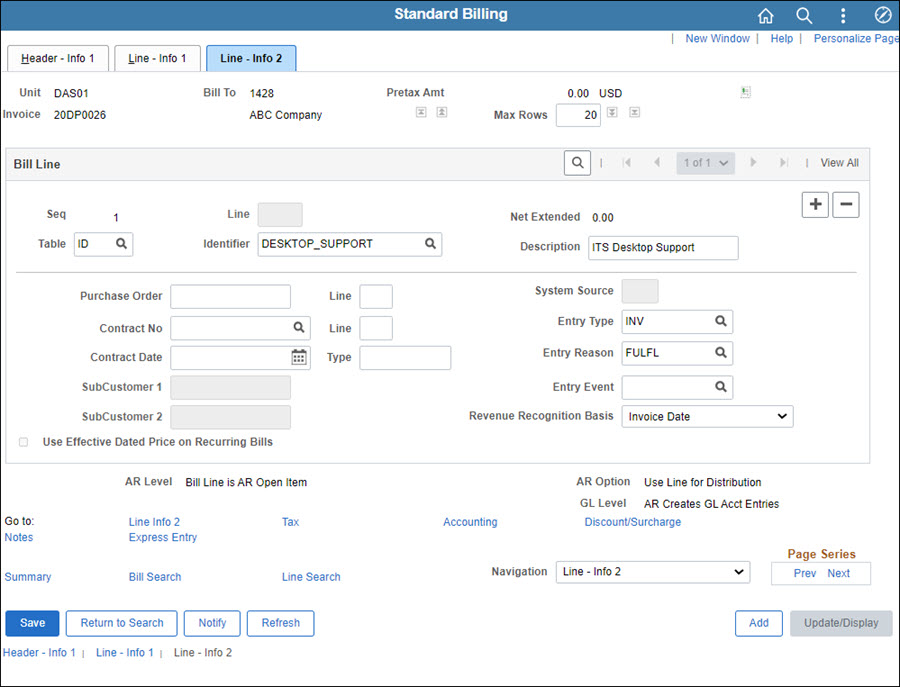
Edit the Entry Type and Entry Reason fields, if necessary.
Click Save.
Click the Header - Info 1 tab.
The Header - Info 1 page displays.
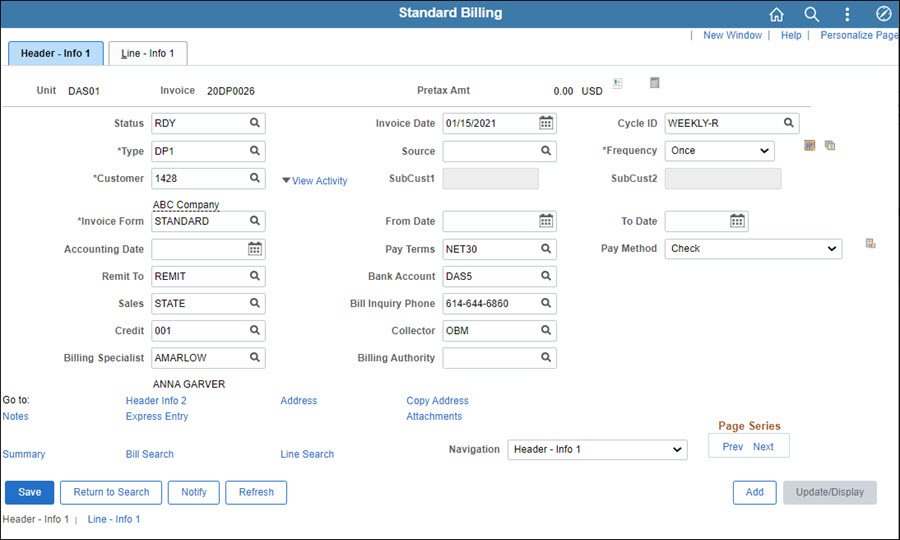
Change the value in the Status field to "RDY."
Click Save.
The bill will now be included in the Finalize and Print process.