Submitting a Planning Center Budget for Review
Steps
- Planning and Budgeting > Activity Preparation
> My Planning Workspace
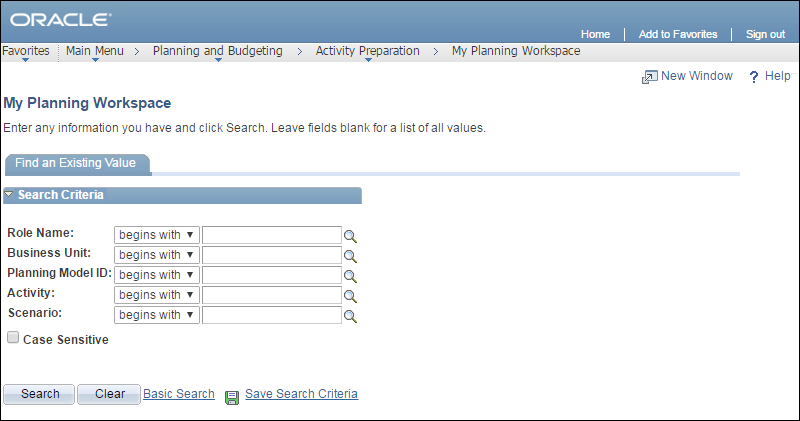
- Enter or select "Preparer"
in the Role
Name

 field.
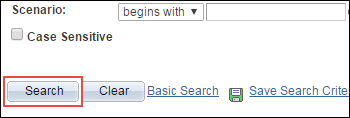
- Click Search.
- A list of all models available to someone
with the specified role displays.
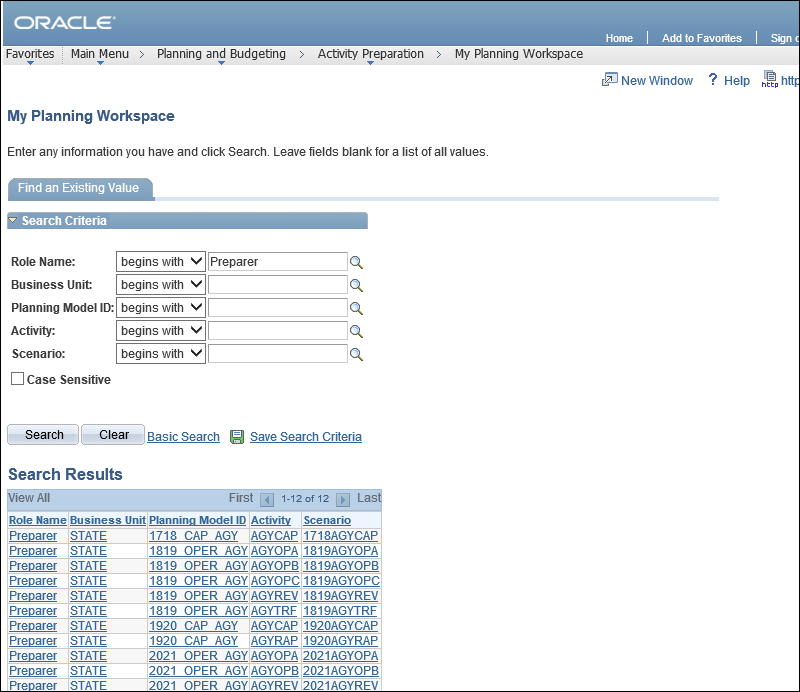
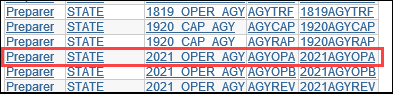
- Click the appropriate Activity
or Scenario.
- The My
Planning Workspace page displays the planning center budgets
for that model.
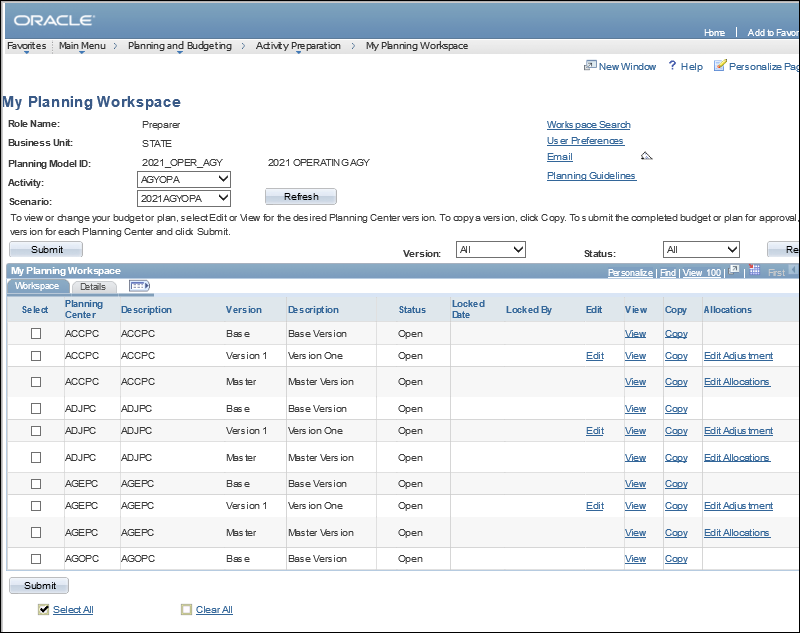
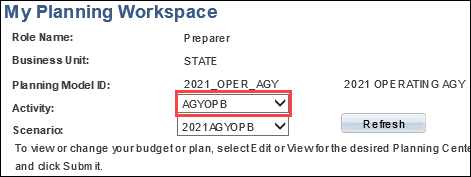
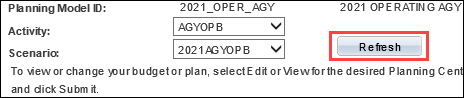
- Click the appropriate budget option in the Activity
dropdown list.
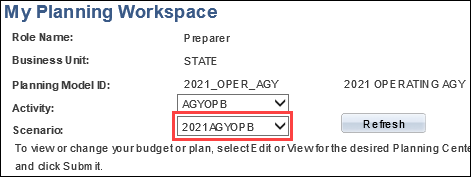
- Select the appropriate option in the Scenario
dropdown list.
- Click Refresh.
- The Workspace
table updates to display versions for the selected
Scenario.
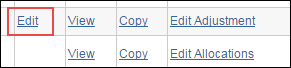
- Click the Edit
link for the version to be submitted.
- The Line
Item Details page displays.
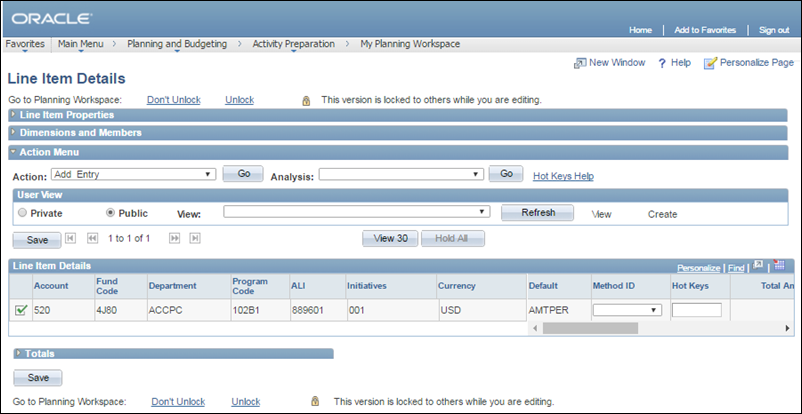
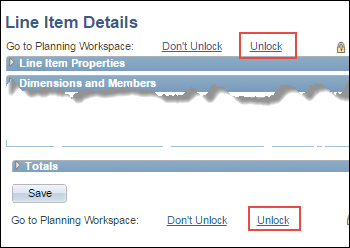
- Verify each line item ChartField string for accuracy.
- Click Unlock
link to return
to My
Planning Workspace
when all items have been verified.
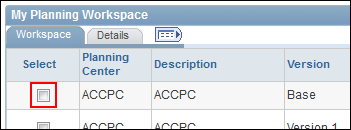
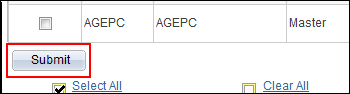
- Click the Select
checkbox next to a line item (ChartField string) that is ready for
submission.
- Multiple planning centers may be selected.
- Click Submit.
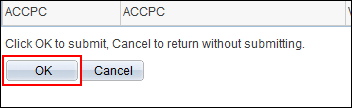
- The Submit
Confirmation page displays.
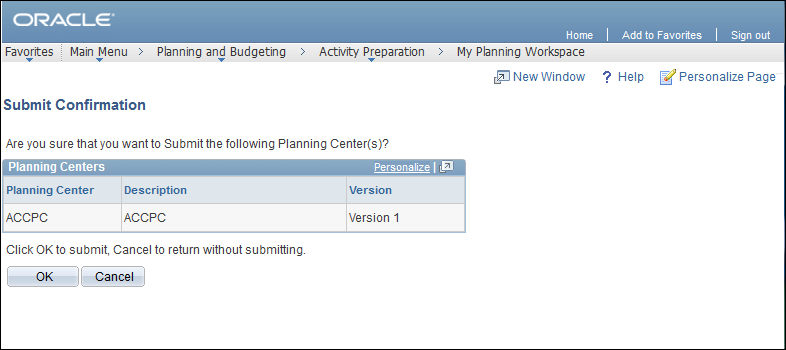
- Review the planning centers information to confirm that the correct
items are being submitted.
- Click OK.
- The selected line item ChartField strings
are copied to the master version and submitted to the Reviewer.
- The My
Planning Workspace page displays. The Status
of the submitted items is "Submitted," in both the version
being viewed and the master version.
- If a planning center that has been submitted needs to be updated,
the Reviewer must reject the
budget to make it available for editing. When a Reviewer
rejects a line item ChartField string, the Reviewer
should contact the Preparer
either by phone or by email to advise the Preparer
it was rejected and why.