Revised: 09/15/2022
ORC Section 126: OFFICE OF BUDGET AND MANAGEMENT
Dunning letters can be used to notify customers of invoices that are past due. OAKS FIN provides three levels of dunning letters, from a mild past due notice to a strongly-worded demand for payment. The language used in the letter is based on the age of the item:
Dunning letter levels in OAKS FIN are preset by the number of days past due; however, agencies can choose when to send each level of letter.
Dunning letters can only be run once daily for a given “As Of” date.
The customer’s pending item must be past due. Typically, a follow-up letter will be sent prior to dunning letters.
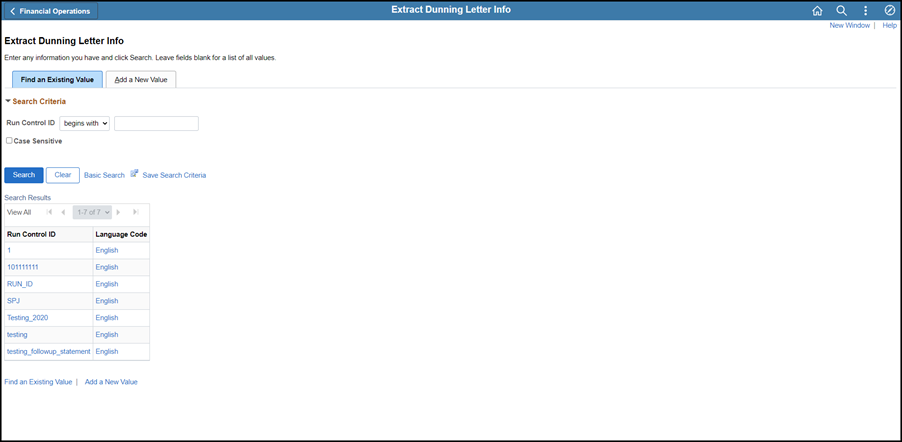
Click the Find an Existing Value tab to search for and select an existing Run Control ID.
Reuse a Run Control ID if previously created to lighten the load on the server and make OAKS FIN run more quickly.
Or, click the Add New Value tab to create a new Run Control ID.
Enter a descriptive name consisting of up to 30 alphanumeric characters, with no spaces, in the Run Control ID field.
Click Add.
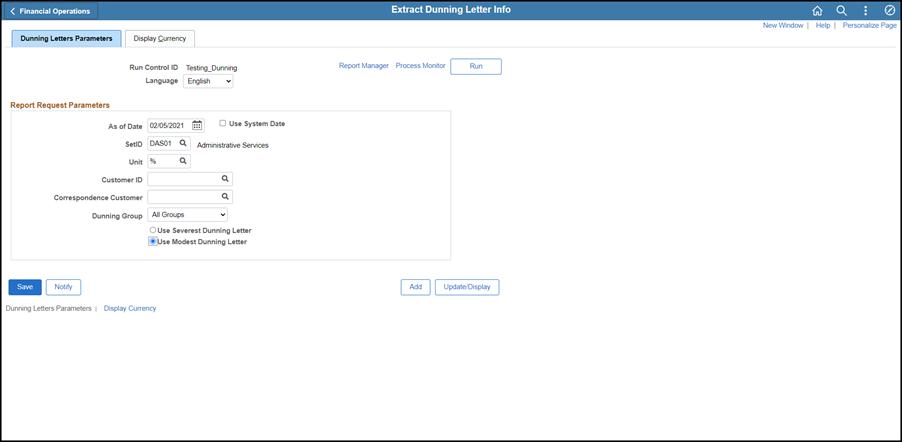
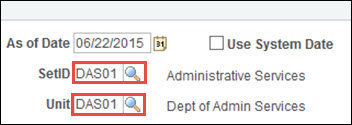
Enter an As of DateAs of Date to control the number of days for which past due items will be calculated, according to that agency’s practices.
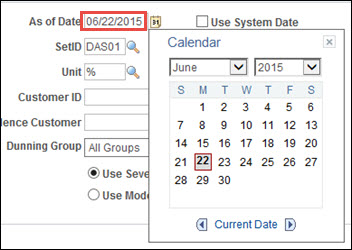
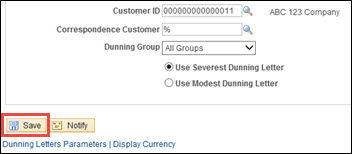
Select the level of dunning letter. The options are:
Use Severest Dunning Letter
Use Modest Dunning Letter
The Process Scheduler Request page displays.
Select the process.
.
Click OK.
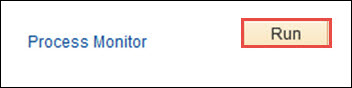
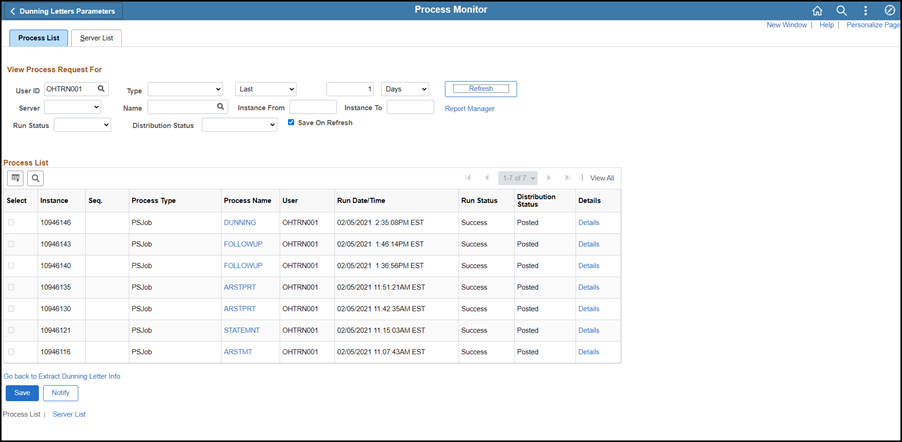
Click the Process Monitor link to review the status of the run request.
The Process List page displays.
Click Refresh periodically, until Run Status displays Success, and Distribution Status displays Posted.
Click the DUNNINGA process name to open the Process Detail page.
| Click here to request updates to this topic. |
|