Revised: 10/07/2024
There are two reporting tools used to access ChartField data in OAKS; the Financials (FIN) module uses PeopleSoft (PS) for reporting, and Business Intelligence (BI) uses Cognos.
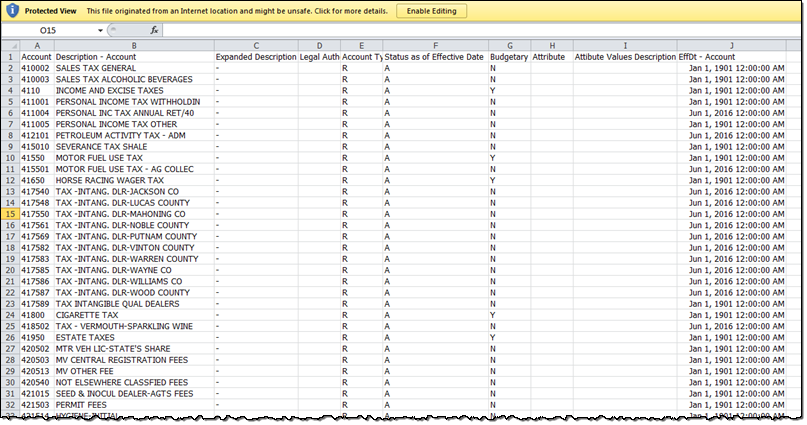
Below are two examples of reports that can display a list of ChartField codes for a specified ChartField type. In this scenario, a list of all revenue account codes will display.
The following procedure shows how to run a BI report to view all codes for a specified ChartField type (Account, Fund, Department, Program, ALI, Project, Grant, Service Location, Reporting, Agency Use, Budget Reference, ISTV).
The search can be narrowed by the alpha or numeric character the code starts with (e.g., for Account choose 1 = Asset, 2 = Liability, 3 = Equity, 4 = Revenue, 5 = Expense, 8 = Other sources, uses, adjustments).
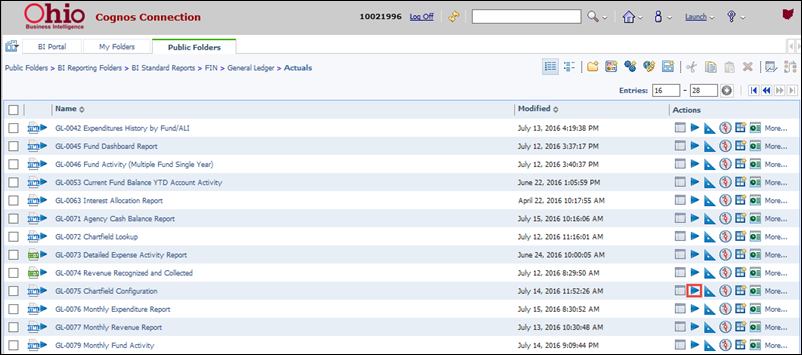
The first page of BI Standard Reports for GL Actuals displays.
There may be multiple pages of reports available under Actuals.
Choose to run the GL 0075 Chartfield Configuration report With Options.
Choose a format for the report.
Click Run.
The GL-0075 ChartField Configuration Prompt Page displays.
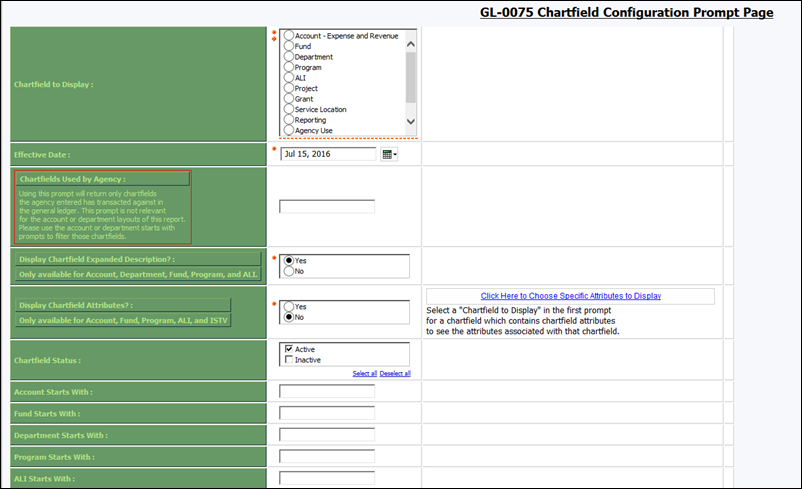
Choose "Account" for this scenario as the ChartField to Display.
Enter "4" in the Account Starts With field.
Revenue codes begin with 4.
Complete optional fields to narrow the search or expand the description.
Click Finish.
Open the report when prompted.
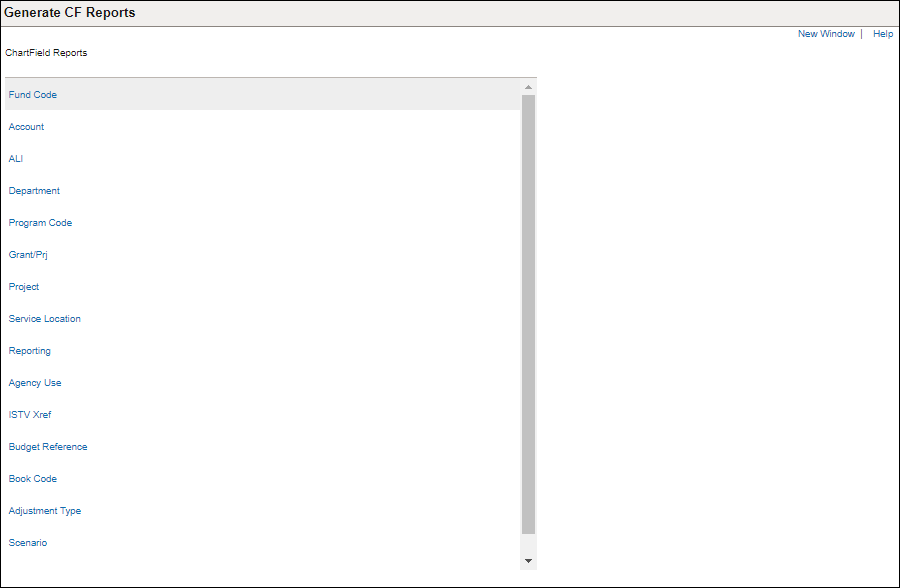
The following procedure shows how to run an OAKS FIN report to view all codes for a specified ChartField type (Account, Fund, Department, Program, ALI, Project, Grant, Service Location, Reporting, Agency Use, Budget Reference, ISTV).
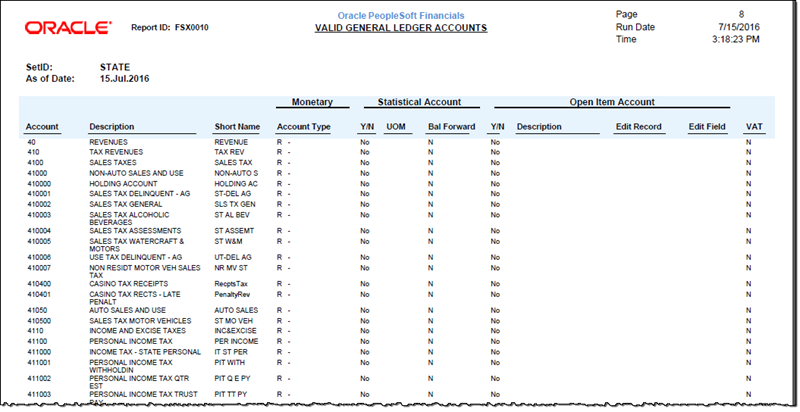
In this scenario, a request for a List of Valid General Ledger Accounts (FSX0010) will run.